
Halloween is the perfect holiday to show off your creativity, whether it’s with the decorations you put up in your home or the costume you choose to wear on Oct. 31st. When it comes to decorating your pumpkins this year, try these eight of the scariest pumpkin painting ideas to wow trick-or-treaters as they come to your door. Just make sure not to leave any sharp carving tools out on Halloween night; this is one holiday where plastic knives and forks will work just fine!
Spooky Stencils
Did you know that there are stencils that can make a pumpkin look like a ghost? Well, there are. Some of these stencils can make your pumpkin design scary at first glance and some take longer looks before their scary intentions are revealed. But whether you’re looking for something spooky, funny, or just plain old pumpkin these eight stencils are sure to give your pumpkin a run for its money in both visual and conceptual respects. So, if you want your next painting project this October to be an absolute scream (you’re welcome) check out any one of these ideas.
Ghost Faces from Halloweenspunk
These stencils make great ghosts with a twist because they have giant smiling faces–which can either look creepy or cute depending on how you use them. You could also paint the faces of other people with all different expressions so everyone knows what’s up.
Dead Skull from Nightmare Industries
These skulls may not be all smiles but they will definitely add suspense to your design! The teeth and gaping mouth will certainly keep people coming back for more so don’t go too far away while it’s sitting out on display because who knows what might happen when no one is watching!
Realistic Zombie Body from Haunt Happening
If you’re someone who loves the undead and would love to see your pumpkins come alive with a zombie theme then this is the perfect stencil for you. Get as detailed as possible by creating a gruesome zombie body that will remind everyone why they should be scared of dead things walking around during trick-or-treating hours.
For those of us who are more content carving eerie portraits into our pumpkins, however, we recommend sticking with one or two less realistic features such as bloodshot eyes, rotting flesh, and stained clothes. One thing’s for certain though–no matter which direction you choose, these designs will undoubtedly get your pumpkin noticed amidst the sea of carved gourds once night falls.
Supernatural Faces
Create some eerie pumpkin faces. Get creative and let your inner artist shine! Utilize ideas from different shapes and designs, or turn your pumpkin into a cartoon character. Add eyelashes, freckles, eyebrows, and clothes for more details. One design includes a blue shirt with an orange scarecrow on it that says Cotton. Create an unfinished ghost using yellow paint. Then add two thin black eyes and bottomless white pupils onto its face as well as an unfinished hat.
Use various colors to create a scary cat-shaped pumpkin with white fur and whiskers for extra creepiness. Finish off by adding red eyes with cat pupils onto the scary animal’s face. Cut out pieces of foam board in the shape of teeth and use them as teeth coming out of the mouth. The inside can be decorated too, but make sure you leave space at the top so you can insert a candle without any issues. You can also carve out two slits at the top to hold candles if you want to make this design really spooky.
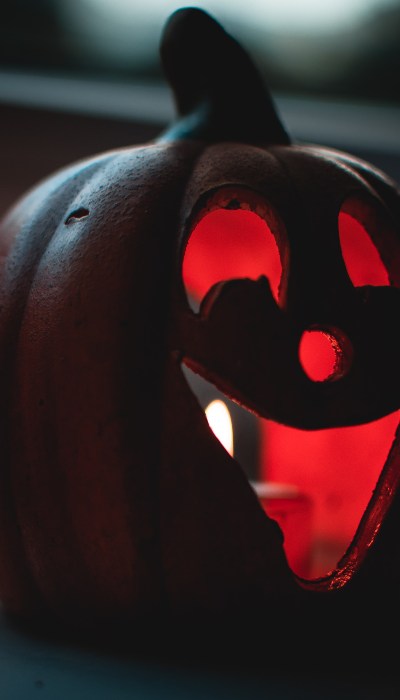
Glow in the Dark Pumpkins

One way you can create a spooky pumpkin is by using glow-in-the-dark paint. Although it may be time-consuming, it will be well worth it when your pumpkins provide their own light source on Halloween night. All you need to do is cover your pumpkins with a base coat of white paint and allow them to dry.
After that, pour glow-in-the-dark paint into large cups or containers and cover your pumpkin evenly with a small layer of glow-in-the-dark paint before allowing it to dry again. You’ll probably need three coats before it reaches maximum darkness! Once your pumpkins are complete, find a safe place to store them until October 31st arrives so they don’t lose their glow.
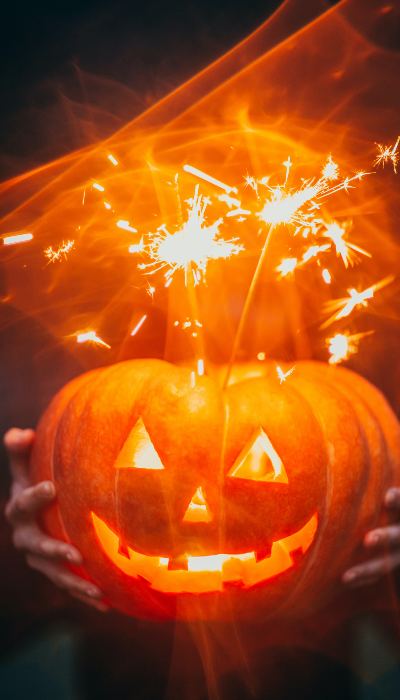
No Carve Pumpkins That Shine and Sparkle
This is another simple, non-scary way to display a pumpkin on your doorstep this Halloween. These gems in particular reflect rainbow colors in their shine and are perfect for those that want more traditional pumpkin décor with a little pizzazz. Plus, these can be found at just about any store!
- Place your pumpkins over a coffee table so that they are resting on all four legs (to distribute weight).
- Use an electric drill with a fine drill bit or screwdriver to poke holes on the top surface of the pumpkin in uniform rows.
- Fill each hole with beads or dried beans before applying craft glue around the edge.
- Wait for everything to dry before placing strategically located LED lights inside and setting them up outside your front door!
- Step back and enjoy how beautiful they look with their shining reflection against the night sky.
Skull Design Pumpkins
Pop art is a popular and fun way to paint your pumpkin this Halloween. All you need is some highlighter tape and markers! The first step is deciding what subject matter you want to create your pop art design. You can go with celebrity portraits, animal faces, human features, or even personal icons such as sports team logos. Once you have a solid idea of what type of pop art design you want to paint on your pumpkin this year, grab your favorite colors and start creating!
For example, if you are going for a portrait design, draw eyes and a nose before adding facial hair using a black marker. Next add earrings, glasses, lipstick, and makeup using reds and blues to give your artwork more dimension. For an animal face painting, start by drawing the face shape in black before filling it in with white paint and then adding details like an eye patch or mouth while filling in fur or feathers around the edges.
To make your pumpkin look like it’s wearing clothes or holding something unique, cut out shapes from construction paper (or other material) that will fit over its surface area before painting them onto the pumpkin’s surface area too! There are many ways to decorate your pumpkin this Halloween, so try experimenting with different techniques and ideas until you find one that works best for you.
Pop Art Pumpkins
Mix some dots, drips, and colors to create a unique design. Cut out shapes from different colors of construction paper or old magazines and glue them onto your pumpkin for an easy decoration idea. Using art supplies like markers, paint pens, and stickers on a pumpkin is always a great way to make it stand out. Plus, it’s so easy! I’m going to be doing that this year.
I am thinking about doing pop art pumpkins- mixing some dots, drips, and color together in one painting. I am also going to cut out shapes from different colors of construction paper or old magazines and glue them onto my pumpkin for an easy decoration idea. And if you’re feeling super creative then using any type of art supplies like markers, paint pens, or stickers on a pumpkin is always a great way to make it stand out!
Creative Glitter Designs
1. First, you will need a pumpkin that is in good condition (nothing showing signs of rot). Fill it with an equal amount of water and vegetable oil, then place it on a large baking sheet lined with parchment paper. Put it in an oven at 375° for two hours. When you take it out, the skin should peel off easily without a knife needed!
2. To start your graveyard scene, first find some old tombstones or rock piles from your yard and place them around your pumpkin so that they make up the walls. Your tombstones can be as simple or detailed as you want them to be! You could draw designs onto rocks and make them look like wood planks, carve words into pieces of wood or cardboard, put small bushes under the stones to simulate grass growing through cracks in the ground, or use fake cobwebs as well.
Add light inside your pumpkin by placing a small battery-operated candle inside before you put the lid back on. The candles don’t have to be anything special; any type will do! Make sure you allow plenty of time for the candle’s light to warm up your room before turning off all other lights in order to get that spooky feel just right. 3. Once you’ve got your base done, add either lighter fluid or acrylic paint to create a fiery background for your pumpkin!
4. If you’re looking for something more subtle than an entire firelit backdrop, simply outline your pumpkins with black marker and follow up with white paint to fill in the rest of the design.
5. Paint intricate patterns on top of one another for a unique effect–simply clean up mistakes when doing this technique.
6. One final way to decorate pumpkins would be painting them from scratch using acrylic paints instead of markers then once dry, adding dots using toothpicks dipped in paint.
The Graveyard Scene on a Pumpkin
Pumpkins can be used as a blank canvas for so many things this time of year, so why not create a scary scene? The hardest part about painting these pump-killers is coming up with ideas. That’s where this video tutorial comes in handy! Get into the spooky spirit by creating your own blood-soaked graveyard scene on top of your pumpkin masterpiece.
Let’s paint! Begin by outlining your garden or graveyard outline with a small brush and watered-down black acrylic paint. Be sure to let the first layer dry before adding another coat. You’ll need white, black, and orange acrylic paints (and brushes). Grab an old toothbrush for some texturing fun too! Fill in all the details using a wide flat brush and black acrylic paint — it’s easier if you go from dark colors to light ones.
Add more textured detail using an old toothbrush dipped in white acrylic paint that has been watered down considerably. Finish off with some translucent orange glittery spray or gold leafing pen to give it that extra spook factor. Display your finished product proudly! Take them around the neighborhood and put them on people’s doorsteps, or share them online!
Conclusion
Pumpkin painting is a fun activity that adults and children can enjoy during this spooky season. Whether you’re hosting a party or just celebrating with family, your pumpkin will serve as a conversation starter for years to come. It’s also a great opportunity for people who love arts and crafts but don’t typically have time because of work or other commitments. Trust us, no one will stop by your door uninvited when they see you’ve got terrifyingly awesome jack-o-lanterns lining your front porch.
Also, check out the latest articles “How to knit a hat” and “Michaels arts and crafts“
Hi I’m Bilal Malik, a digital marketing and blogging expert holding years of experience.


