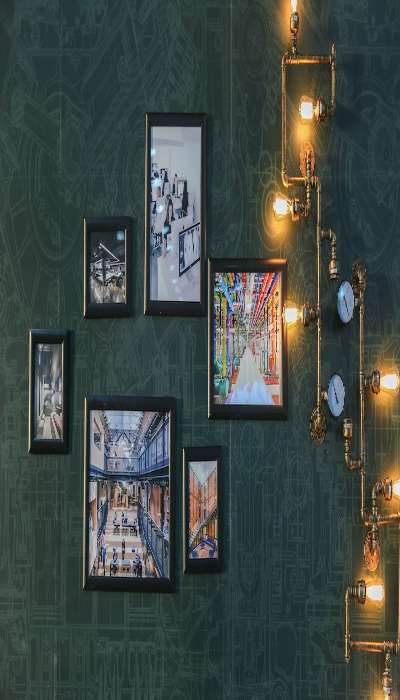
Are you tired of the same old picture frames that you find in stores? Do you want to add a personal touch to your home decor? If so, making your own DIY picture frame may be the perfect solution for you! Not only is it a fun and creative project, but it can also save you money in the long run.
In this ultimate guide, we’ll show you everything you need to know to create a beautiful and unique picture frame that you can be proud of.

Materials Needed for DIY Picture Frame
The first step in creating a DIY picture frame is to gather all the necessary materials. Here’s a list of what you’ll need:
- Wood (for the frame)
- Saw
- Sandpaper
- Wood glue
- Clamps
- Nails or screws
- Paint or stain
- Picture hanger or wire
Choosing the Right Wood

When it comes to choosing the right wood for your picture frame, there are a few things to consider. First, you’ll want to think about the overall style you’re going for. Are you looking for something rustic and natural, or something more modern and sleek? This will help you determine the type of wood that will work best.
Some popular options for DIY picture frames include pine, cedar, and oak. Pine is a great choice for a rustic look, while cedar is known for its natural beauty and resistance to decay. Oak is a popular choice for a more classic or traditional style.
Cutting the Wood
Once you’ve chosen your wood, it’s time to cut it to size. Measure the dimensions of the picture you want to frame, and then add an inch to both the length and width to account for the frame itself. Use a saw to cut the wood to the desired size.
Sanding the Wood
After cutting the wood, it’s important to sand it down to a smooth finish. This will help the glue and stain adhere properly, and also prevent any splinters or rough edges. Use a fine-grit sandpaper to sand down all the sides and edges of the wood until it’s completely smooth.
Assembling the Frame
Once the wood is cut and sanded, it’s time to assemble the frame. Apply wood glue to one of the short ends of the wood and attach it to one of the long ends at a 90-degree angle. Use clamps to hold the wood in place while the glue dries. Repeat this process for the remaining pieces of wood, creating a complete frame.
Attaching the Backing and Picture Hanger
Next, it’s time to attach the backing to the frame. Cut a piece of cardboard or foam board to the size of the frame, and then attach it to the back using nails or screws. Finally, attach a picture hanger or wire to the back of the frame so that it can be hung on the wall.
Finishing Touches
The final step in creating a DIY picture frame is to add any finishing touches. This can include painting or staining the wood to match your decor, or adding decorative elements like beads or buttons. Let your creativity run wild!
Conclusion
Making your own DIY picture frame is a fun and rewarding project that anyone can do. With just a few materials and some basic tools, you can create a beautiful and unique frame that will showcase your favorite pictures in style. Whether you’re looking for a rustic or modern look, there are endless possibilities when it comes to creating your own picture frame. So why not give it a try and see what kind of masterpiece you can create!
Also, check out the latest articles “Crochet Dress” and “Calligraphy Alphabet“
Hi I’m Bilal Malik, a digital marketing and blogging expert holding years of experience.


